 With its versatility and extremely compact size, the Raspberry Pi is ideal for my Allsky camera project. However, as with any internet-enabled device, protection against potential attacks is crucial. Here are what I consider to be the most important measures to ensure the security of a Raspberry Pi 5:
Allsky camera: My basic setup
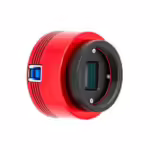 Having wanted to build my own Allsky camera for a long time, after months of research I decided to just go for it. Here I’ll introduce you to the components I’m using and explain why I decided on exactly this setup.
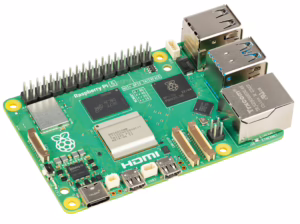
Raspberry Pi 5 – The basic setup of Pi OS Lite
After the hardware components for my Allsky camera system had slowly but surely all arrived, the next step was to set up the Raspberry Pi 5. Since I’m using Raspberry Pi OS Lite as my operating system – a slimmer version without a graphical user interface – I decided to set it up without a monitor and keyboard, also known as headless setup. Here’s how I went about it.