 After installing Home Assistant OS, it’s time to set it up: First login, network configuration, Wi-Fi setup and a clean backup strategy. This section shows step by step how to set up Home Assistant correctly after the start – including USB stick on the FritzBox as SMB network drive and automatic backups without add-ons.
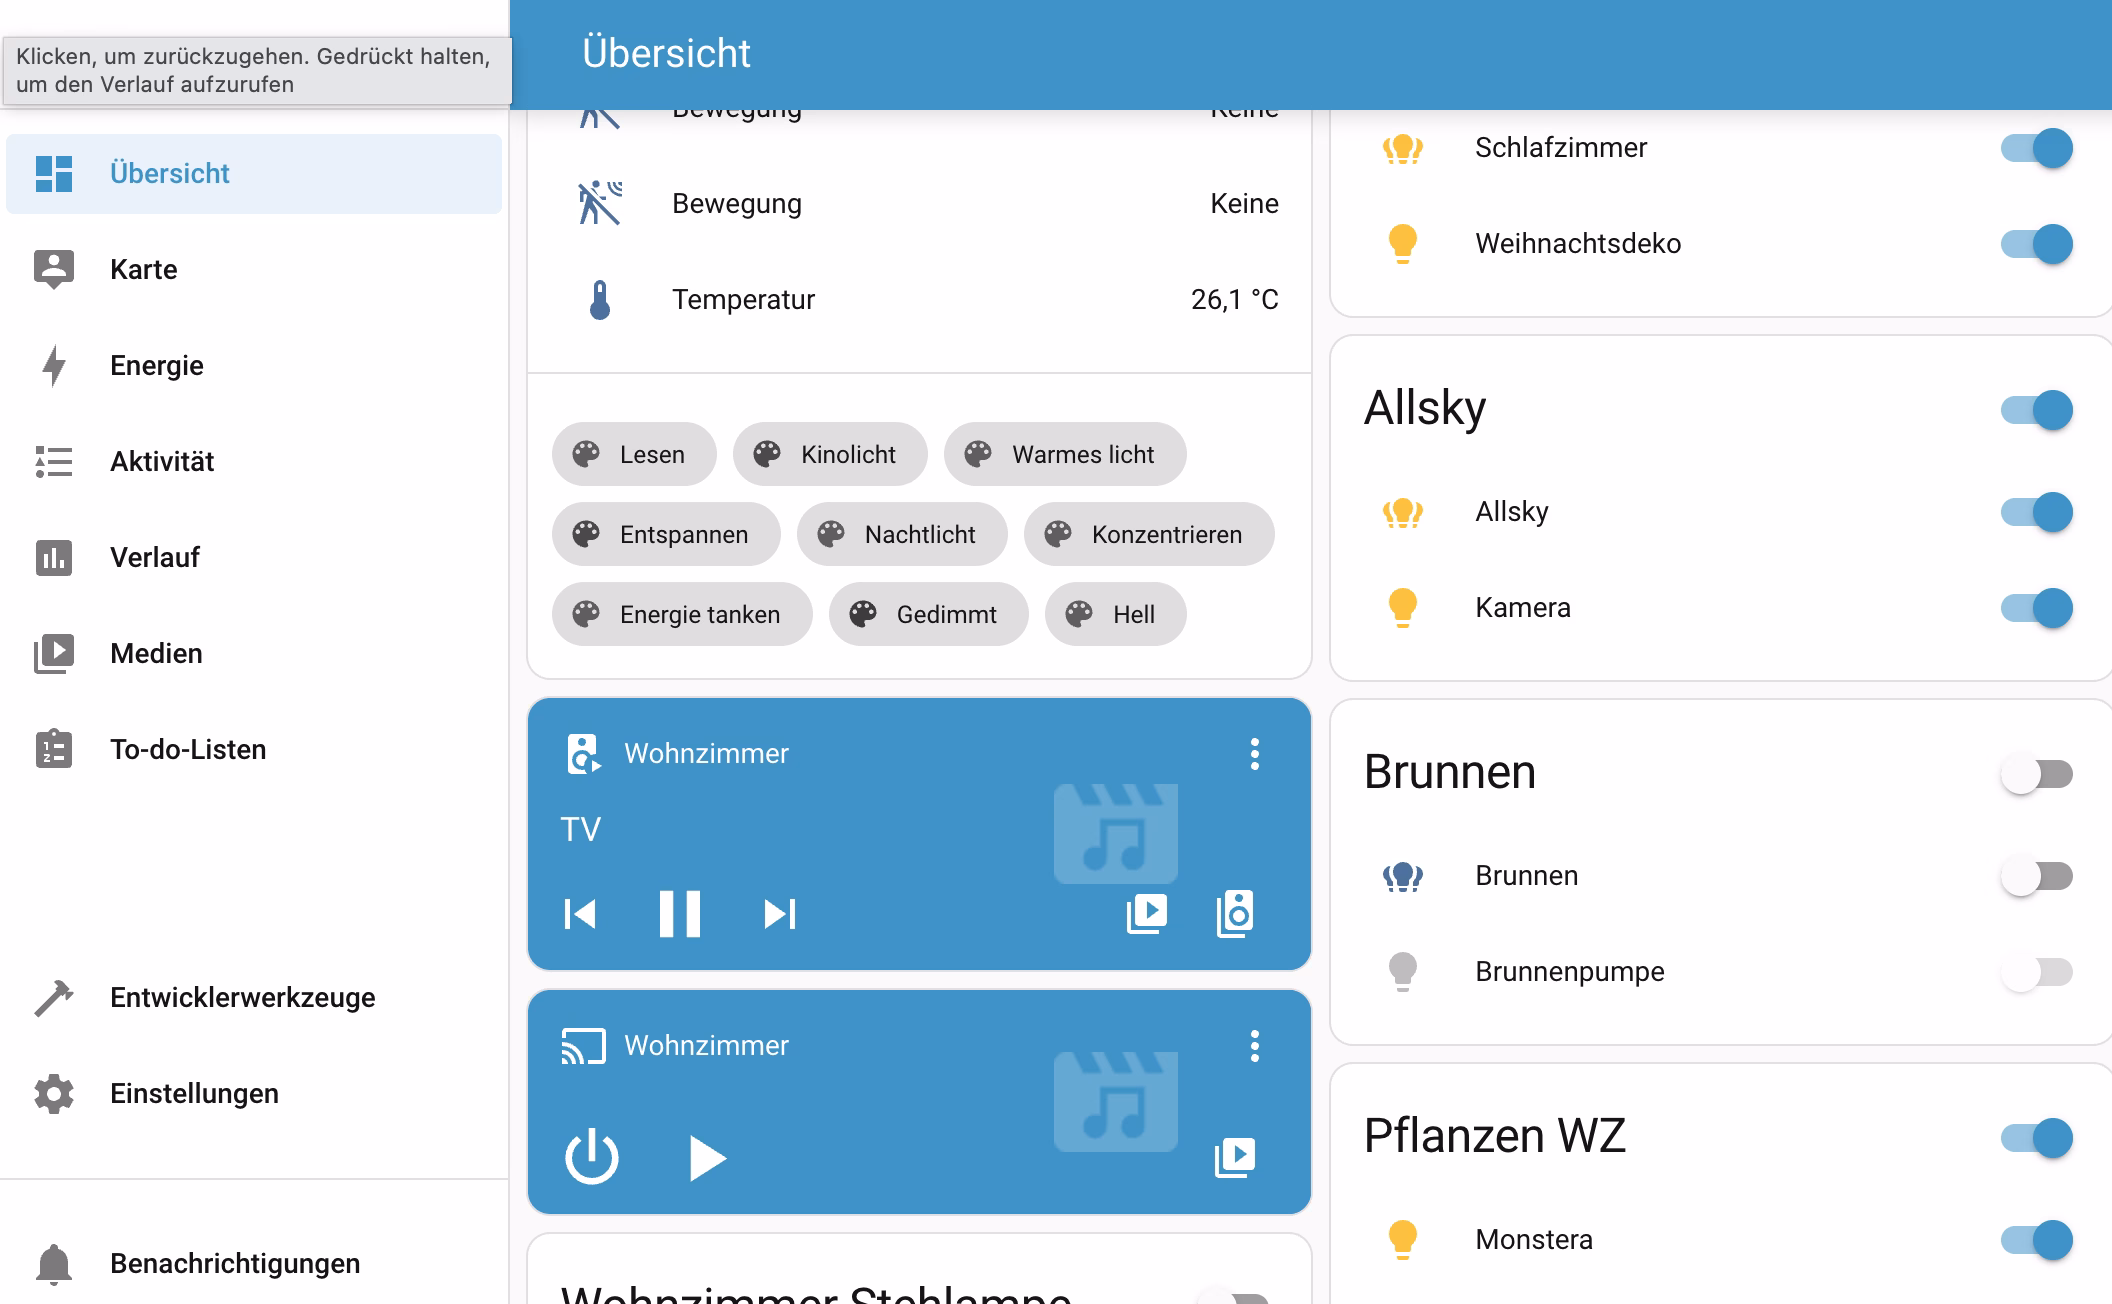
The good news is that once it’s up and running, it works perfectly and has a great, self-explanatory user interface.
First login after starting Home Assistant OS
After successfully booting Home Assistant OS, the web interface can be accessed via http://homeassistant.local:8123 or alternatively via the IP address of the Raspberry Pi. The setup wizard starts automatically the first time it is called up.
In the first step:
- create a user account (Admin)
- Set password and display name
- Select language, location and time zone
This account is the central administration access for the entire system.
Set up network: Configure WLAN subsequently
Home Assistant OS initially starts exclusively with LAN. WLAN is only configured after the first login.
Procedure:
- Settings → System → Network
- Open WLAN area
- Activate WLAN
- Select SSID and enter password
After a successful connection, the LAN cable can be removed or left connected as a fallback
can remain connected.
Integrate network drive: FRITZ!NAS with USB stick (details & pitfalls)
Home Assistant can use an SMB network drive, e.g. a USB stick on a FRITZ!Box, for automatic backups. However, the FRITZ!Box does not provide USB storage like a classic NAS, but under a fixed, global SMB share:
FRITZ.NASRegardless of the name or type of USB stick , FRITZ.NAS is always the correct share name. The stick itself only appears as a subfolder within this share.
Important: For access, a dedicated FRITZ!Box user must exist who has explicit read and write access to FRITZ!NAS. Anonymous access or guest access cannot be used reliably for Home Assistant.
A central stumbling block is the USB energy-saving mode of the FRITZ! If this is active, the FRITZ!Box puts the USB stick into a sleep state after inactivity. However, Home Assistant OS attempts to mount the network drive automatically at startup. If the stick is in energy-saving mode at this time, the mount fails with a systemd error message.
Therefore mandatory:
- Deactivate USB power saving mode in the FRITZ!
- Keep the USB stick permanently active
Only then can FRITZ!NAS be used reliably as a permanent backup target.
Integration in Home Assistant:
- Settings → System → Backups
- ⋮ (three-point menu) → Backup storage locations
- Add network storage
Example configuration:
Server: 192.168.178.1
Share: FRITZ.NAS
Path: homeassistant
User name: homeassistant
Password:     ********
After saving, the status “Connected” must be displayed. If the mount fails, the cause is almost always a lack of user rights or active USB power saving on the FRITZ!
Note on operational safety
A USB stick on the FRITZ!Box is sufficient for automatic backups, but is not highly available storage. It is also recommended:
- regularly download a backup locally
- or use a second backup destination (NAS / cloud)