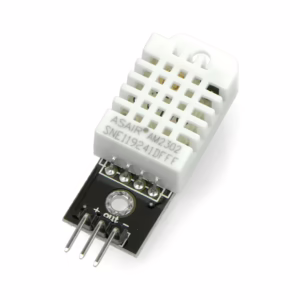
 Installing the DHT22 sensor took me quite a bit of research. First, I had to find out exactly how to wire the sensor to the Raspberry Pi 5 – but then the problems really started, as I received the error message “Python modules not installed” in the indi-allsky software. Here I’ll show you how to wire the DHT22 and get rid of the error message in indi-allsky!
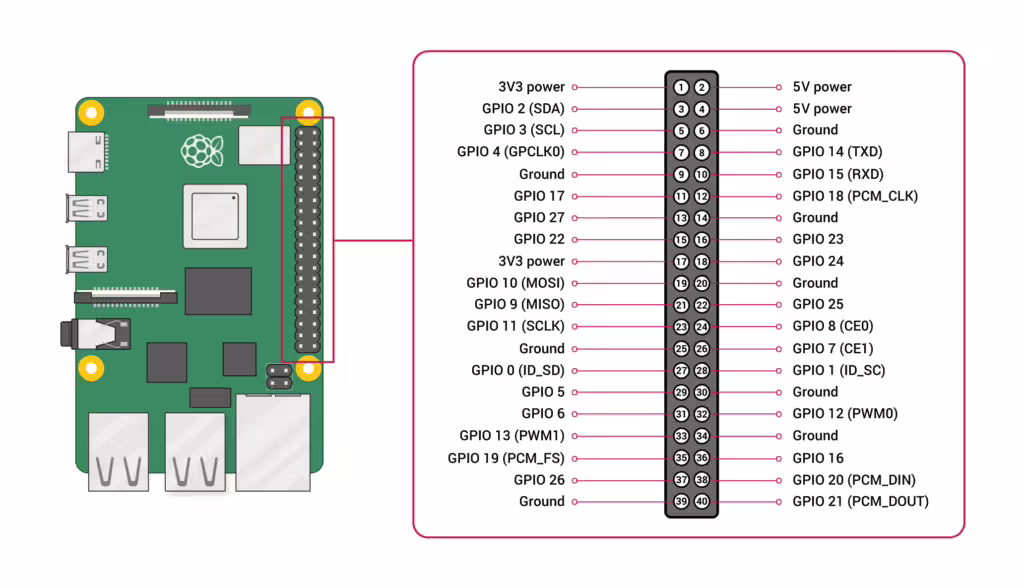
To install the DHT22 sensor, it must first be connected to the Raspberry Pi 5 (with the system switched off). Thanks to the breakout board, this is relatively simple: GND goes to pin 6, +3.3V goes to pin 1 and the data line is connected to pin 15 (in my case). Theoretically, you can use any pin that is labeled GPI in the graphic. The PINs are counted from the inside to the outside, i.e. 1 is the first pin on the left “top” if you have turned your Raspberry Pi with the USB ports towards you.
When setting up the DHT22 sensor in the indi-allsky software, I first selected the DHT22 sensor under “Config”->”Sensors” and then entered “D22” under Pin/Port, as the data is transmitted via the third GPIO pin. I then received the error message “Python Modules not installed”. After some searching, I found out that this error message – as I reconstructed it – is due to the fact that RPi.GPIO no longer works properly on the Raspberry Pi 5. Instead, the “rpi.lgpio” package must be installed. And this is how it works:
- Installing the lgpio package
sudo apt install python3-lgpio
2. uninstall the gpio library
sudo apt remove python3-rpi.gpio
3. creation and activation of a virtual environment
python3 -m venv --system-site-packages sysvenv
source sysvenv/bin/activate
Installation of the lgpio library in the virtual environment
pip3 install rpi-lgpio
You can find out whether the DHT22 sensor is working with a script that is located in the indi-allsky installation. To do this, first navigate to the indi-allsky folder (in my case: /indi-allsky) and then activate a virtual environment in which you call the test script sensor_test.py. This is located in the folder /indi-allsky/misc/
source virtualenv/indi-allsky/bin/activate

./misc/sensor_test.py
The output should then look like this:
(indi-allsky) YOUR-USERNAME@YOUR-SERVERNAME:~/indi-allsky $./misc/sensor_test.py

[WARNING]: Initializing [DHT22] DHT22 temperature device

[WARNING]: No sensor B - Initializing sensor simulator

[WARNING]: No sensor C - Initializing sensor simulator

[INFO]: [DHT22] DHT - temp: 21.9c, humidity: 65.9%

[INFO]: Sensor 0: {'dew_point': 15.22959905721085, 'frost_point': 12.259692399634446, 'heat_index': 23.946660090693005, 'data': (21.9, 65.9)}

[INFO]: Sensor 1: {'data': ()}

[INFO]: Sensor 2: {'data': ()}
You can see here that the DHT22 is recognized correctly and outputs temperature and relative humidity.
These values can then also be output as part of the image overlay (more information here – in progress).