 Home Assistant is the most powerful open source system for smart home automation. In the following instructions, I will show you how I installed Home Assistant OS on a Raspberry Pi 5 on an NVMe SSD. The goal was a high-performance, long-lasting setup without a microSD card in continuous operation.
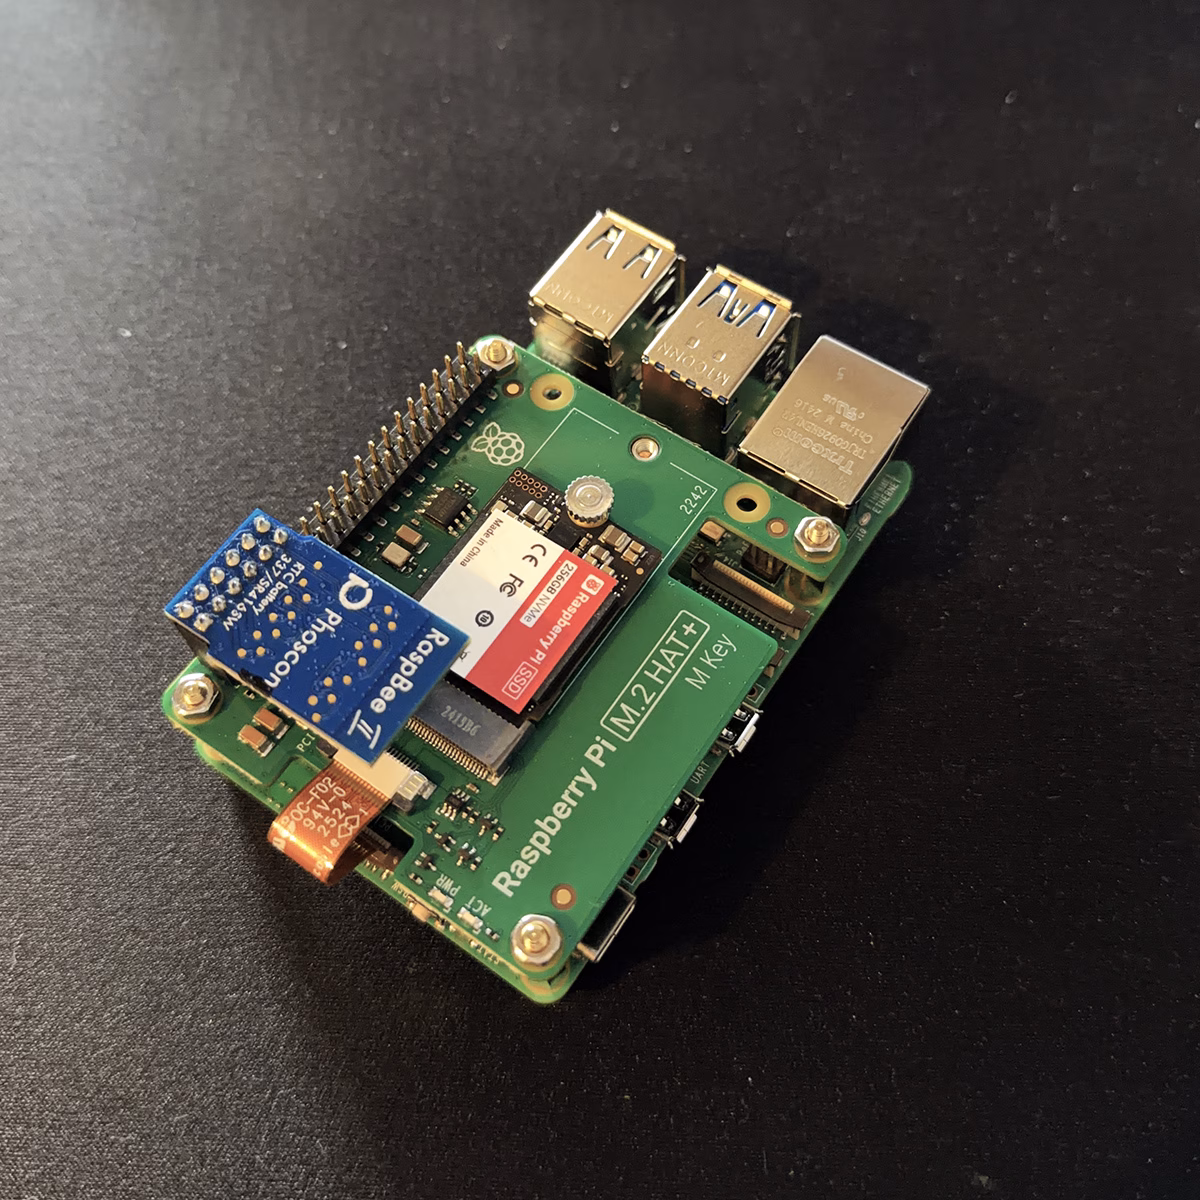
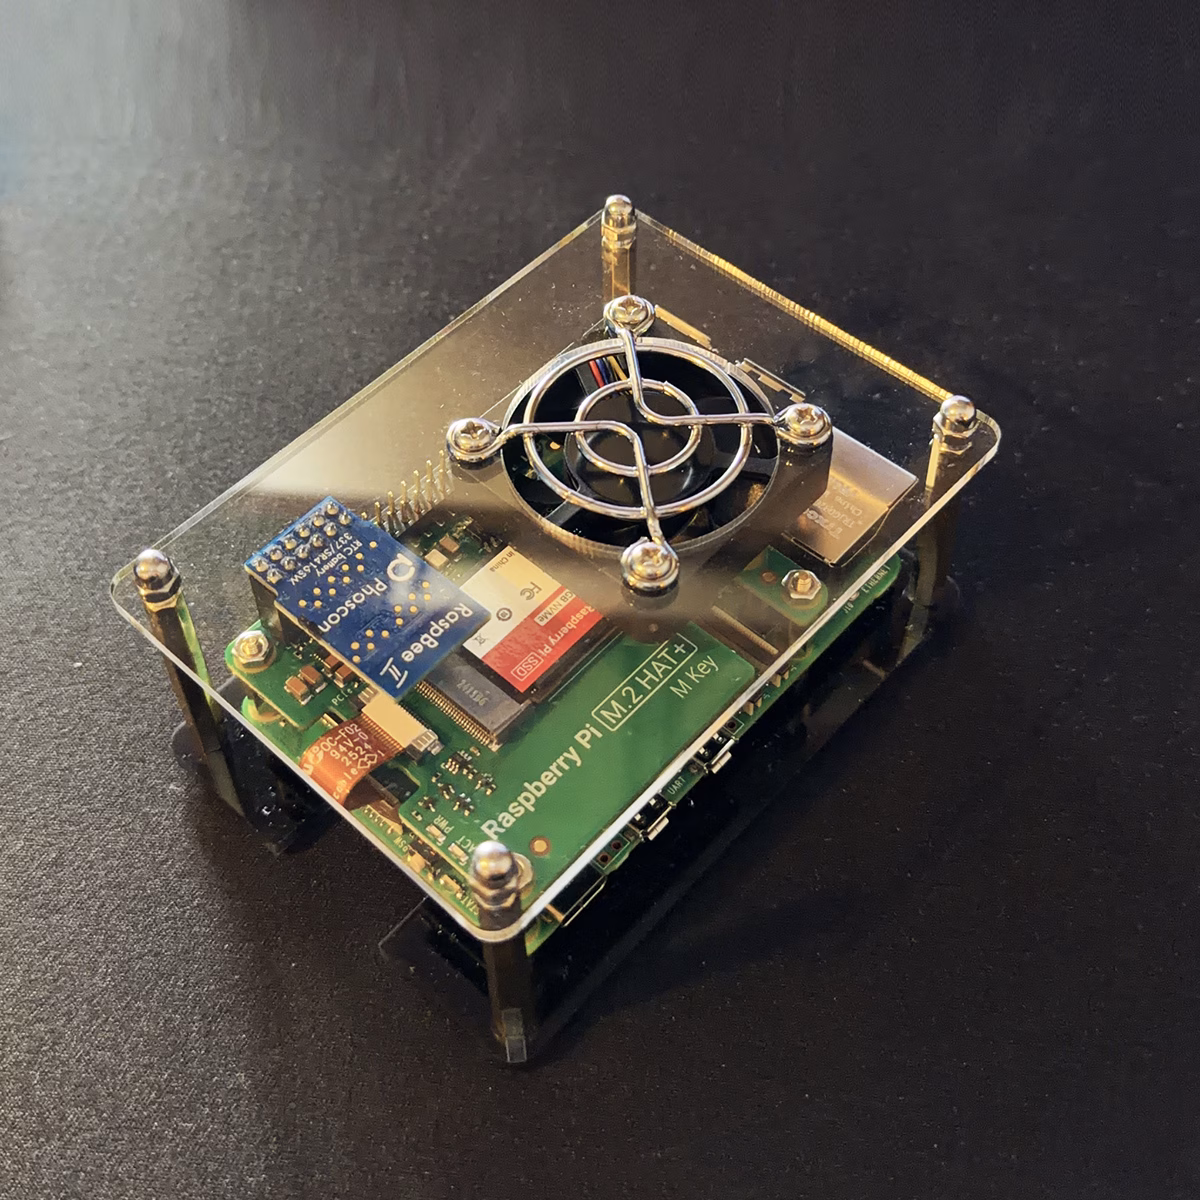
Hardware
I used the following components for my setup:
- Raspberry Pi 5
- 64 GB microSD
- Raspberry Pi® NVMe SSD Kit 256GB
- SONOFF Zigbee 3.0 USB Dongle Plus
- Official Raspberry power supply
For Zigbee integration, I use the RaspBee II module, the SONOFF Zigbee 3.0 USB Dongle Plus, which connects to the Raspberry Pi via USB. I took the detour via a microSD card with Pi OS Lite, as the NVMe cannot be integrated as an external drive or similar. I discarded the attempt with the RaspBee II module because I couldn’t get the system to run stably that way.
Classification: Why the intermediate step with the microSD makes sense
Before Home Assistant OS is written to the NVMe SSD, a microSD card with Raspberry Pi
microSD card with Raspberry Pi OS is used. This intermediate step is not a detour,
but ensures that the firmware, boot loader and boot sequence are set correctly.
Especially with new or longer stored Raspberry Pi 5s, this is crucial so that
the subsequent NVMe boot works reliably.
The microSD is used exclusively as a temporary maintenance and configuration system.
It is removed again once the installation is complete and plays no role in subsequent operation.
no longer plays a role.
Step 0: Prepare Raspberry Pi OS on microSD
Raspberry Pi OS Lite (64-bit) is written to the microSD card
(e.g. with the Raspberry Pi Imager). Then:
- Insert the microSD into the Raspberry Pi
- Start the Pi
- Connect via LAN
- Log in via SSH
Update firmware and bootloader
First, the system is completely updated, including the EEPROM/bootloader:
sudo apt update
sudo apt full-upgrade -y
sudo rpi-eeprom-update -a
sudo reboot
After the reboot, the firmware status can be checked:
rpi-eeprom-updateAn up-to-date boot loader that supports NVMe boot is important.
Set boot sequence to NVMe
The boot sequence is then explicitly adjusted:
sudo raspi-configPath:
Advanced Options
→ Boot Order
→ NVMe/USB
Then reboot the system:
sudo rebootAt this point, the Raspberry Pi is technically ready to boot directly from the NVMe SSD
to boot. Only now does the actual step follow, in which Home Assistant OS is written to the
NVMe is written.
Step 1: Check NVMe detection
After booting the Raspberry Pi OS, check via SSH:
lsblkTypical target image:
mmcblk0– microSD (running system)nvme0n1– NVMe SSD (target for Home Assistant OS)
Important: The NVMe must not be mounted and must not have any active partitions.
Step 2: Download the exact Home Assistant OS asset
The generic “latest” download does not work reliably.
The exact asset name of the current release must be used.
Example (release 16.3 for Raspberry Pi 5):
wget https://github.com/home-assistant/operating-system/releases/download/16.3/haos_rpi5-64-16.3.img.xzNote: The file name may change with new releases and, if in doubt, should be
checked beforehand in the GitHub release.
Step 3: Write Home Assistant OS directly to the NVMe
Now the image is written raw to the NVMe.
This step completely overwrites the SSD.
xz -dc haos_rpi5-64-16.3.img.xz | sudo dd of=/dev/nvme0n1 bs=4M status=progress
sync
Attention:
Target must be /dev/nvme0n1.
/dev/mmcblk0 would be the microSD and must not be used here under any circumstances.
Step 4: Shut down the system cleanly
sudo poweroffWait until:
- the green LED on the Raspberry Pi is off
- no more activity is visible on the NVMe LED
Step 5: Switch to NVMe boot
- Physically remove the microSD card
- Supply Raspberry Pi with power again
- The bootloader now starts automatically from NVMe
The first start of Home Assistant OS takes a relatively long time
(2 to 10 minutes). Do not intervene during this time.
Step 6: Check accessibility
 Important:
- Home Assistant OS does not have WLAN on initial startup
- A LAN connection is absolutely necessary to get started
Once initialization is complete, Home Assistant can be reached via Ethernet at
http://homeassistant.local:8123or via the IP address assigned by the router:
http://<IP address>:8123