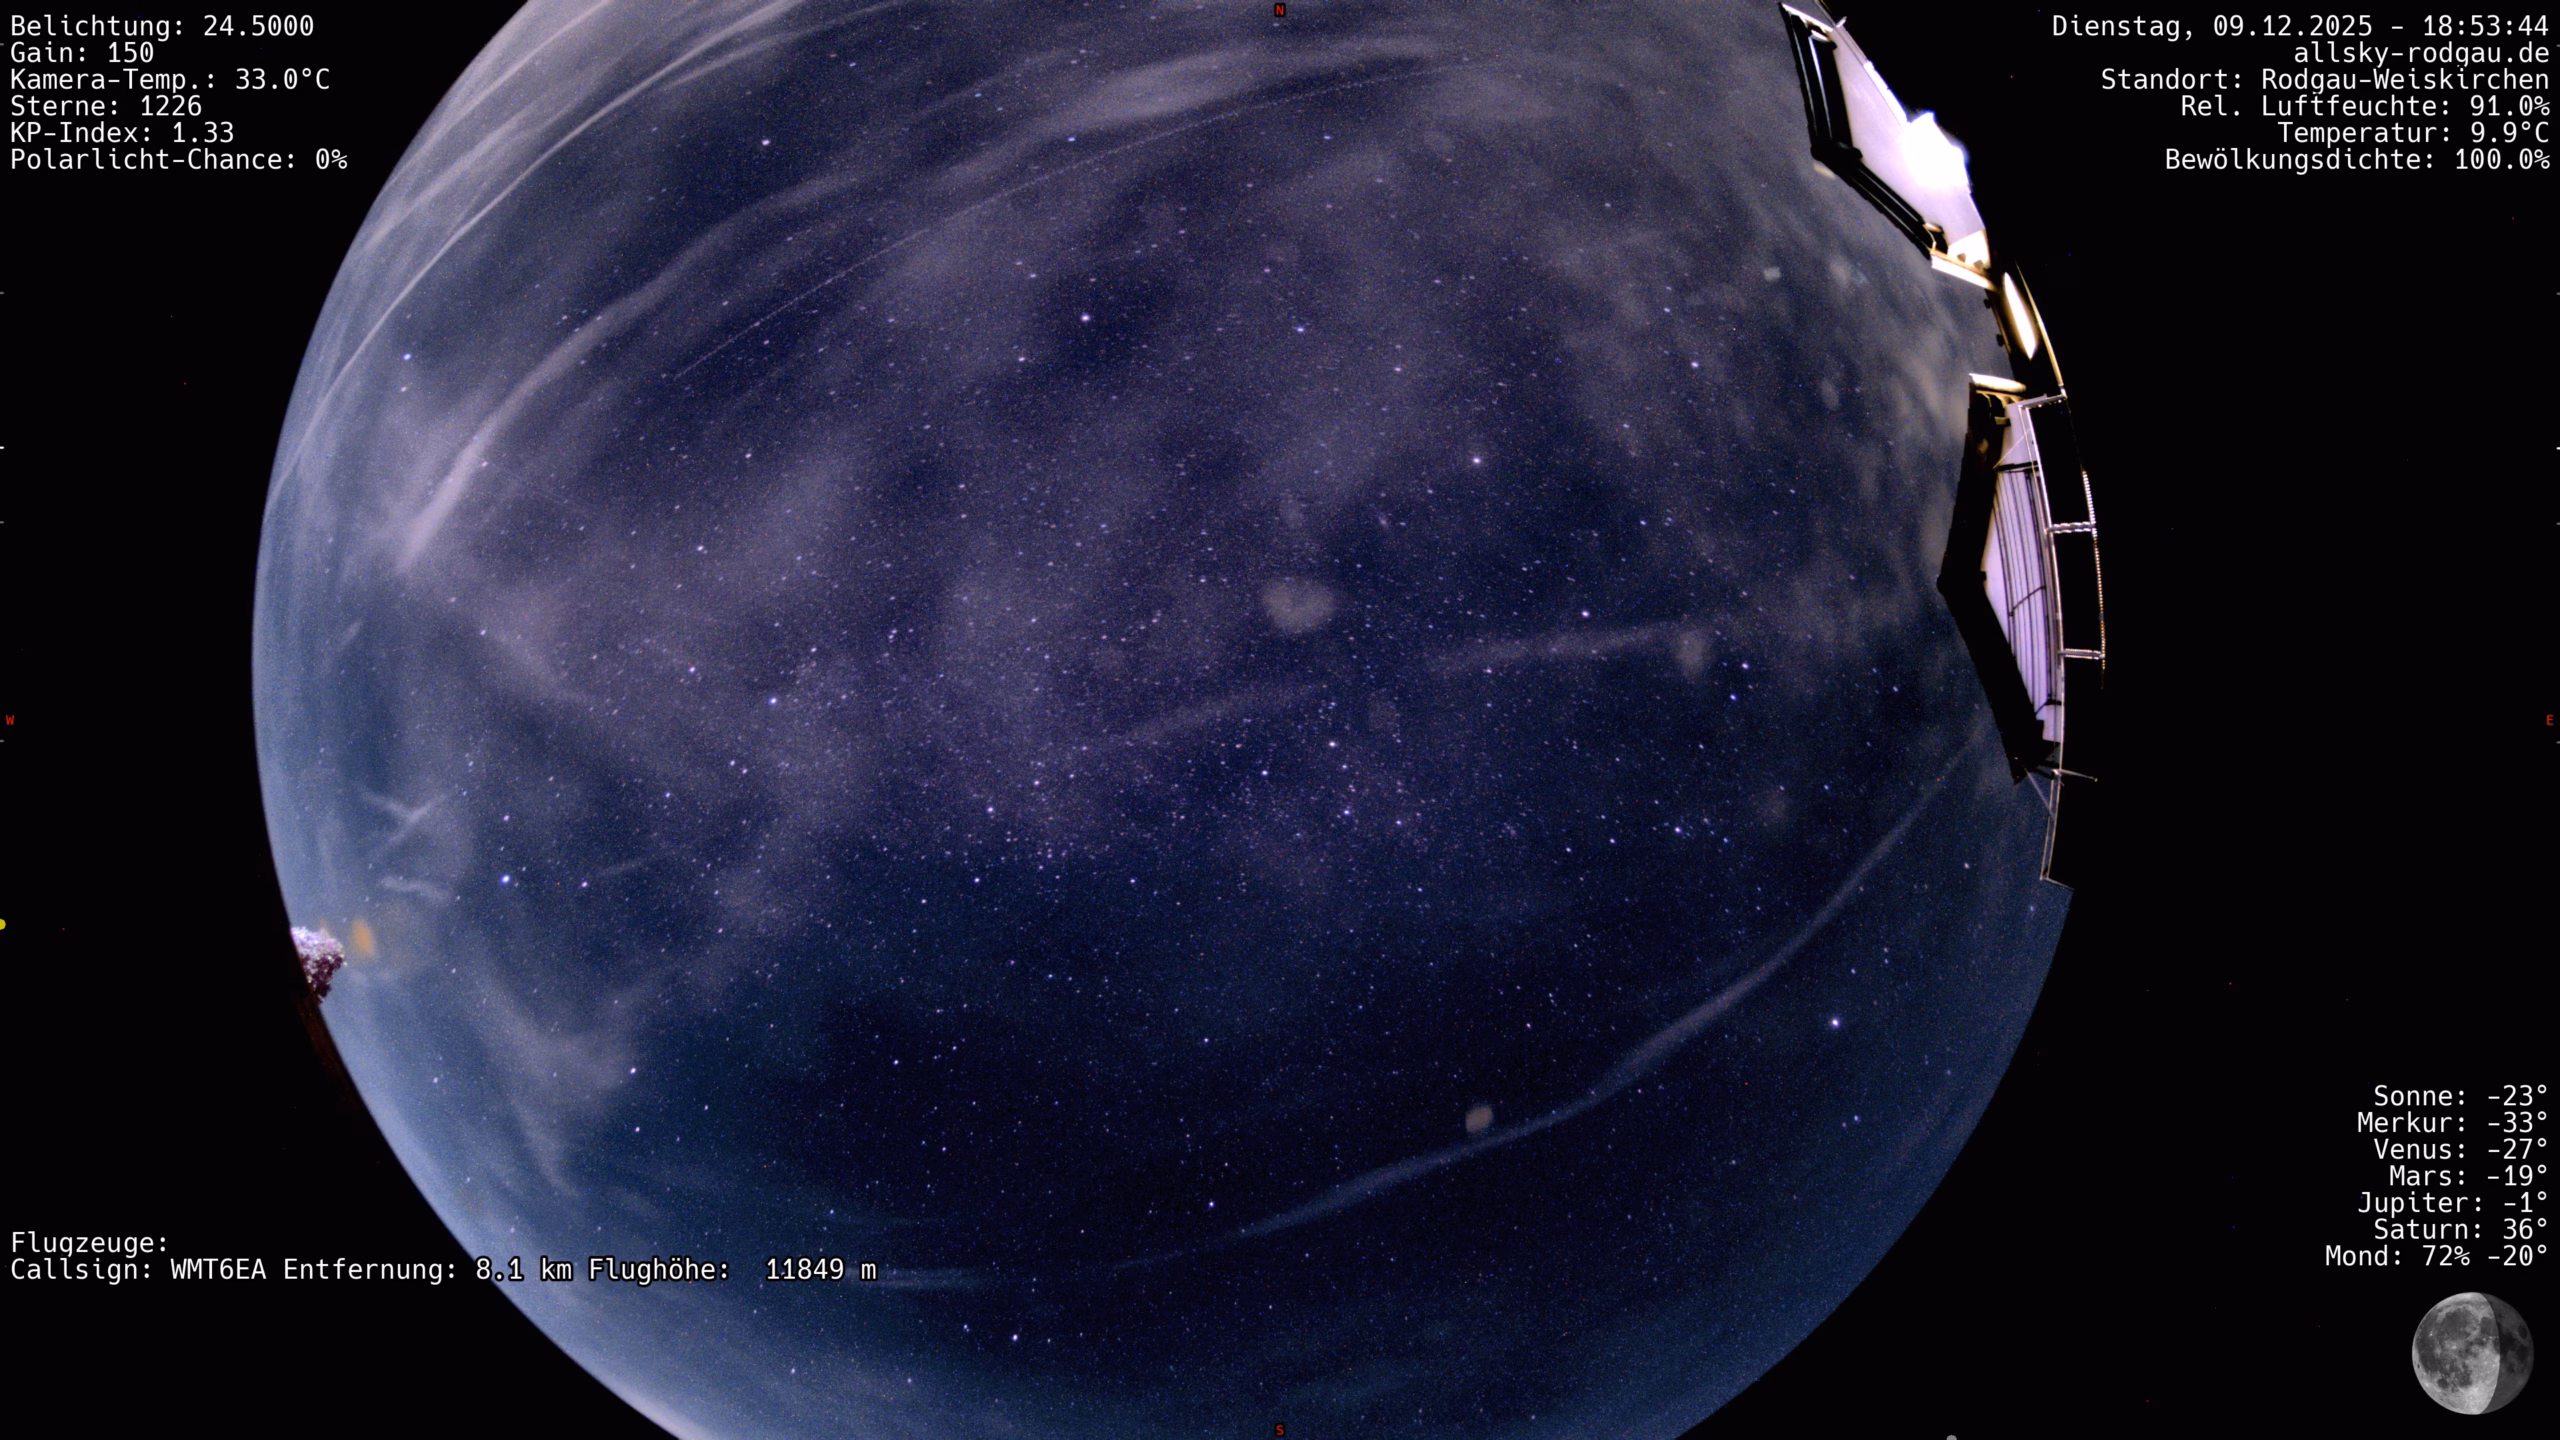
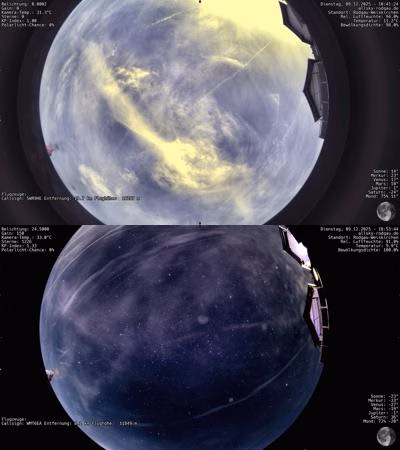
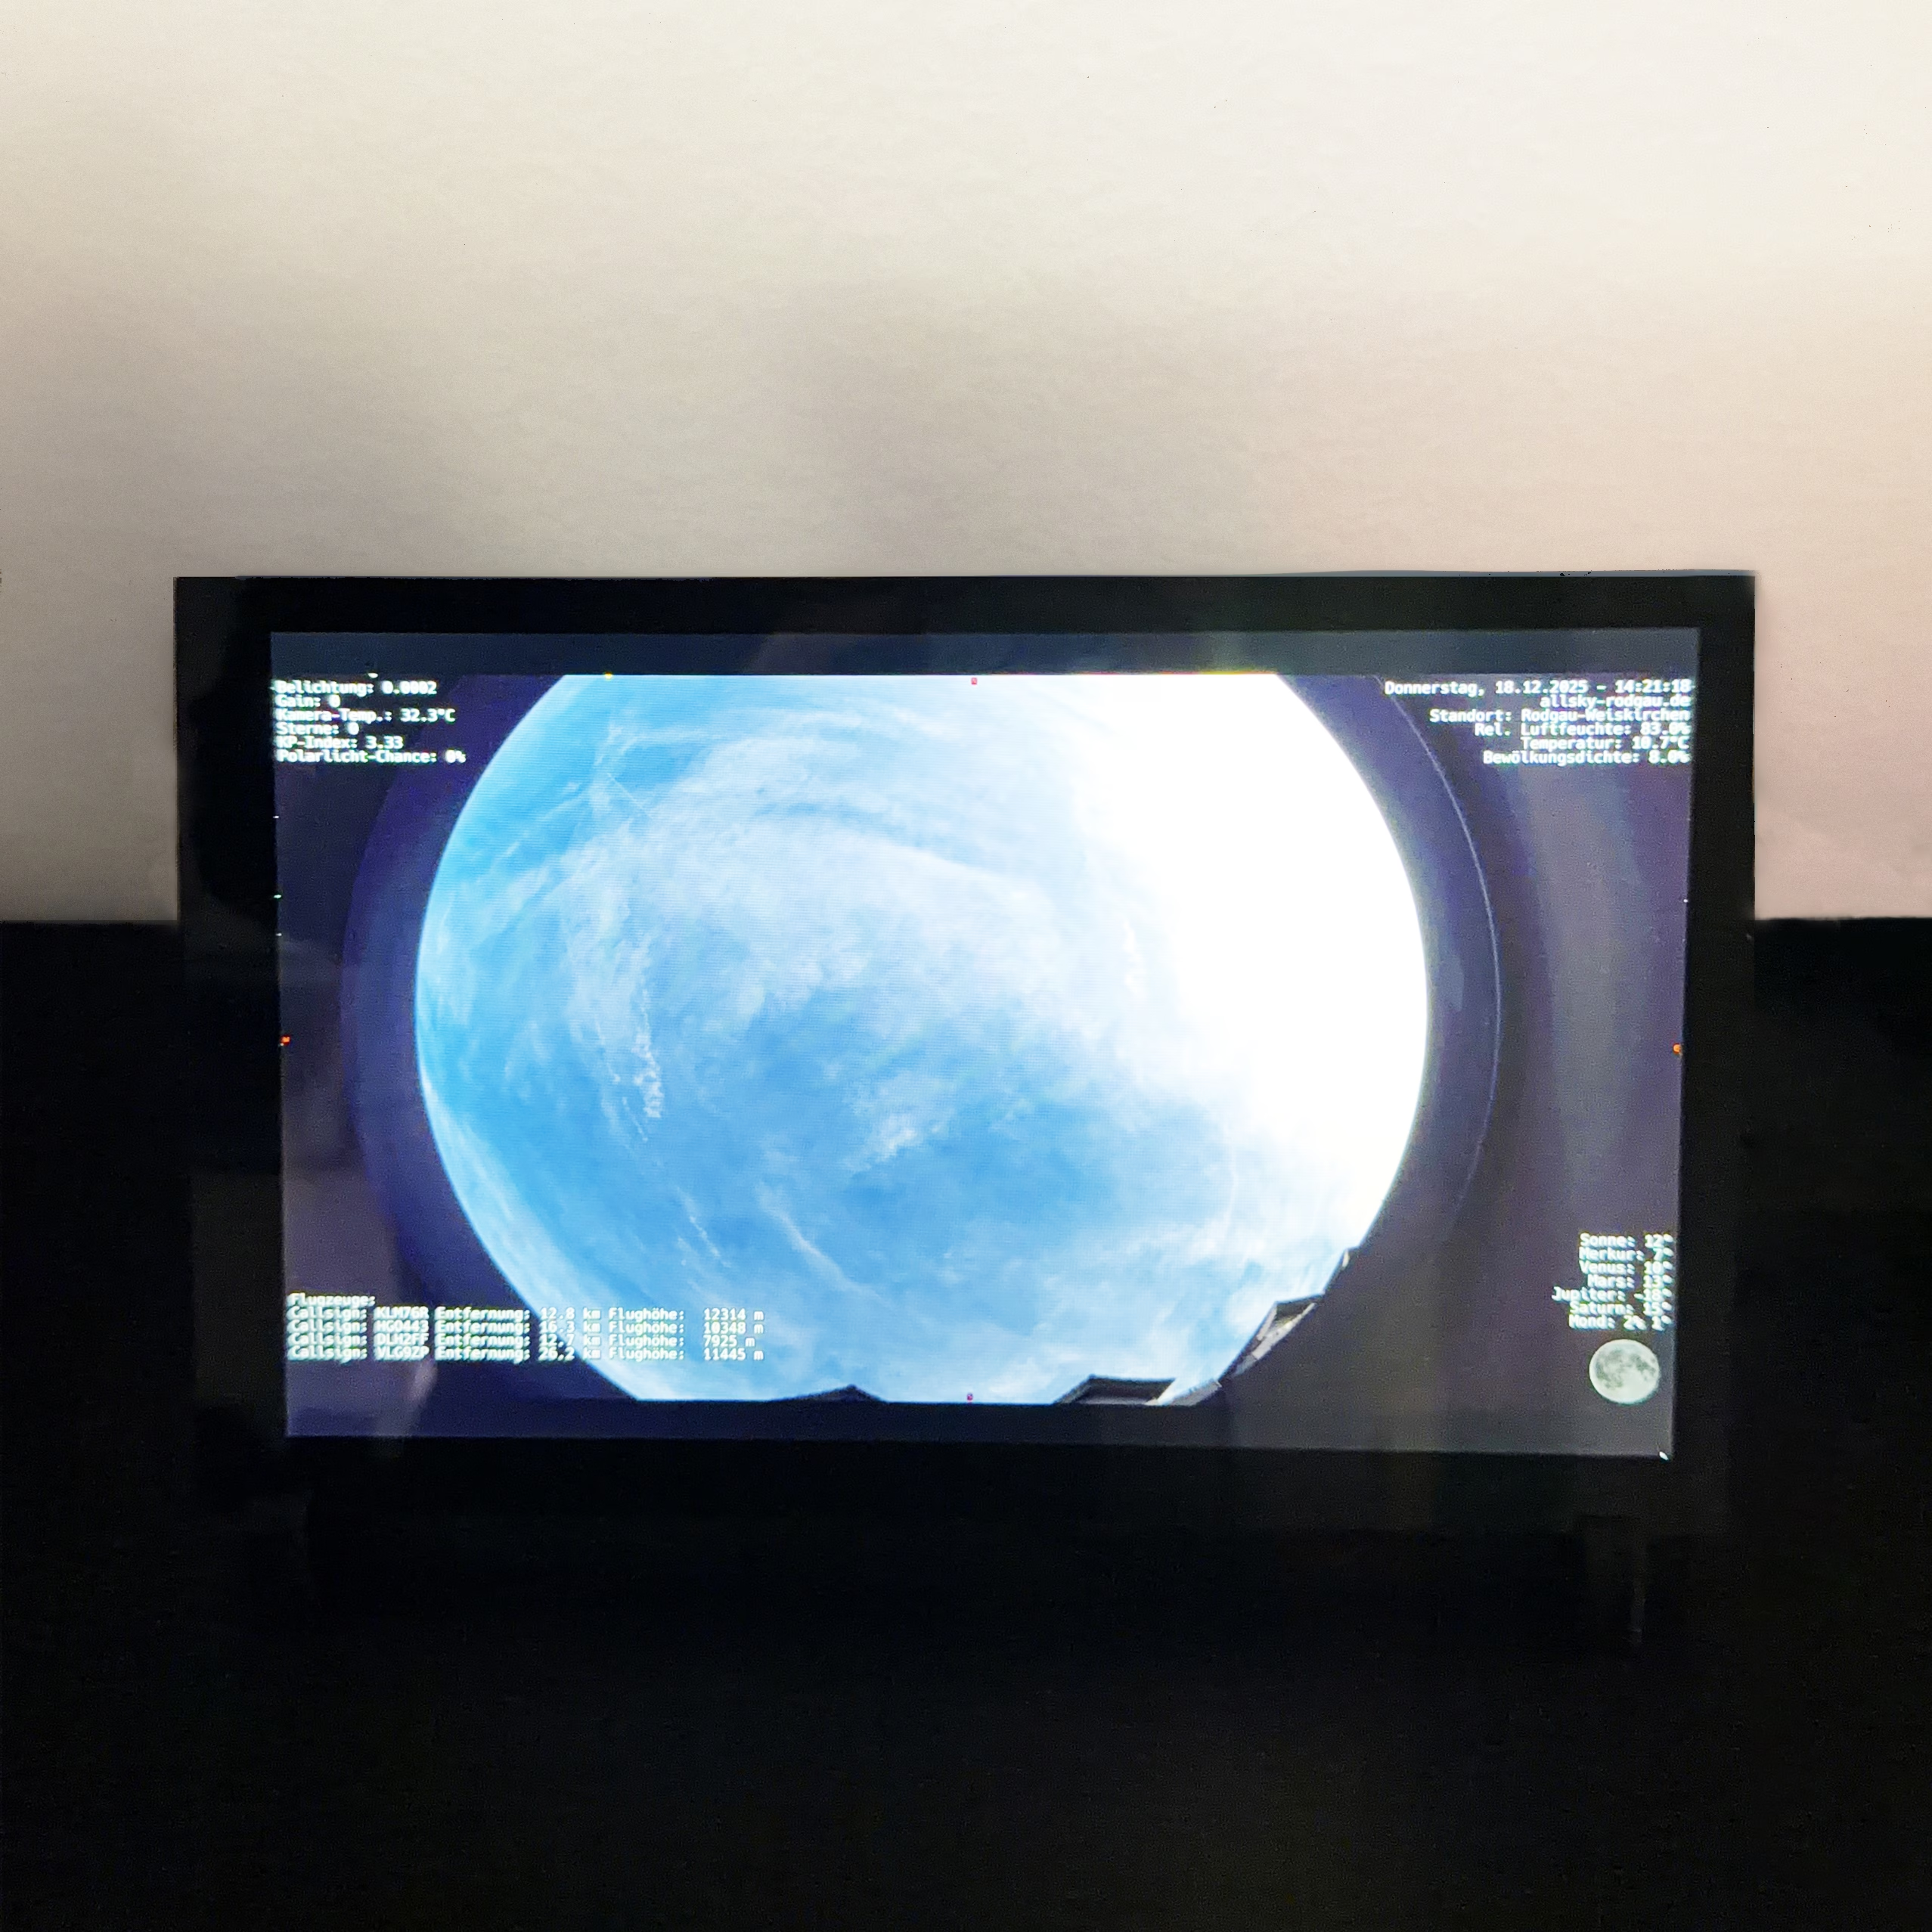
Geo-blocking as a security function for port 80 and port 443 on the Raspberry Pi

Since my Allsky camera has been publicly accessible via its own subdomain, I regularly see access attempts from certain countries. IPs from Russia (RU) and China (CN) in particular appear disproportionately often in the log files – mostly automated scanners, bots or credential stuffing attempts.

Of course, a hardened system (firewall, Fail2Ban, rate limits, HTTPS) already provides pretty good protection. But: I wouldn’t have to pull many of these requests into my system in the first place. That’s why I also use geo-blocking: the Raspberry Pi simply rejects TCP connections from certain countries before the web server reaches them.

Secure indi‑allsky with a genuine SSL certificate from Letsencrypt

Letsencrypt LogoIf you run an indi‑allsky installation on a Raspberry Pi and want to make it publicly accessible via your own domain, you will quickly encounter two typical challenges:

  • The Raspberry is behind a Fritz!Box with a dynamic IP.
  • indi‑allsky comes with its own self-signed web server, which does not provide a valid TLS certificate by default.

In this article, I will show you the complete, working solution: A Let’s-Encrypt certificate for a subdomain such as access.allsky-rodgau.de, delivered via Apache as a reverse proxy, including a functioning auto-renewal routine via HTTP-01 challenge.

***This guide was updated in December 2025 and works perfectly for me***

Raspberry PI – IPv6 – Secure port 80 with rate limiting

While IPv4 is structurally protected by NAT, IPv6 is always globally accessible without a firewall – completely without port sharing. This is precisely why an IPv6 firewall is not a “nice to have”, but a must.

IPv6: secure global reach and allow ICMPv6

I was surprised that my Raspberry Pi was immediately given a global IPv6 address. This means that it can be reached from outside without NAT. Without ip6tables, all IPv6 services are open – often without you even noticing.

The solution is an IPv6 firewall similar to the IPv4 configuration, but with one important difference: ICMPv6 should not be blocked, as otherwise functions such as neighbor discovery, router advertisements or MTU detection will no longer work reliably.

Raspberry PI – Secure port 80 with rate limiting

Since my Allsky camera is publicly available via Apache, secured with Let’s Encrypt and its own subdomain, I also wanted to harden the Raspberry Pi a little at network level – without risky experiments or unnecessary complexity. NAT provides basic protection for IPv4, but ports 80 and 443 in particular are publicly accessible. In addition, bots, scanners and automated requests generate unnecessary traffic.

My goal: a pragmatic firewall that allows real access, reduces bot noise and does not interfere with Let’s Encrypt. Here is the IPv4 part first – you can find an additional post about IPv6 here!

Activate automatic updates on the Raspberry Pi

Automatic updates on a Raspberry Pi are – in addition to other tweaks that I have presented here – particularly useful to ensure the security of the system. Regular updates close known security gaps and keep the operating system stable and up-to-date. Important security patches are installed automatically without manual intervention, which minimizes the attack surface for hackers and malware. In combination with email notifications, you are always informed when an update has been carried out or a problem has occurred. This ensures maximum security and reduces maintenance costs. And this is how it works: